Sapperton Tunnel Picture Gallery
(click on an image to see it enlarged)
 |
 |
 |
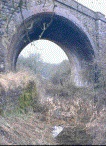
| The 'skew' bridge |
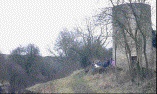
The nearby roundhouse |
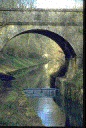
Tarlton Bridge |
 |
 |
| Madeline |
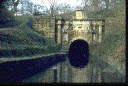
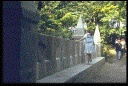
Coates Portal |
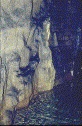
Inside the tunnel
 |
 |
 |
| (1) |
(2) |
(3) |
 |
 |
| Daneway Portal |
Portal Top |
Links:
Aardvark Home Page
About Sapperton Tunnel
© 1999 Charles R.W. Lyne
Page designed by Charles R.W. Lyne.
Any comments may be directed to:
webmaster@aardvark-world.org.uk
Page last updated 4th Dec. 1999.